
Designing Your Lolita Dress Pattern
Gathering Inspiration and Materials
Before diving into the pattern-making process, gathering inspiration and selecting materials is crucial. Inspiration can come from various sources, including historical fashion plates, modern Lolita magazines, and online communities. Look for styles and motifs that resonate with you, considering how they can be incorporated into your own design.
Choosing the right materials is equally important. Fabrics like cotton, chiffon, and velvet are popular choices for Lolita dresses due to their versatility and ability to hold shape. The choice of fabric impacts not only the dress’s appearance but also its comfort and durability. Selecting high-quality materials ensures that the dress will look and feel luxurious while standing up to wear.
In addition to fabric, gather other essential supplies like lace, ribbons, and buttons that complement your chosen fabric and design. Pay attention to the color scheme, ensuring that all elements harmonize to create a cohesive look. Having a clear vision and all the necessary materials ready will streamline the pattern-making process, allowing for a more enjoyable and efficient creation experience.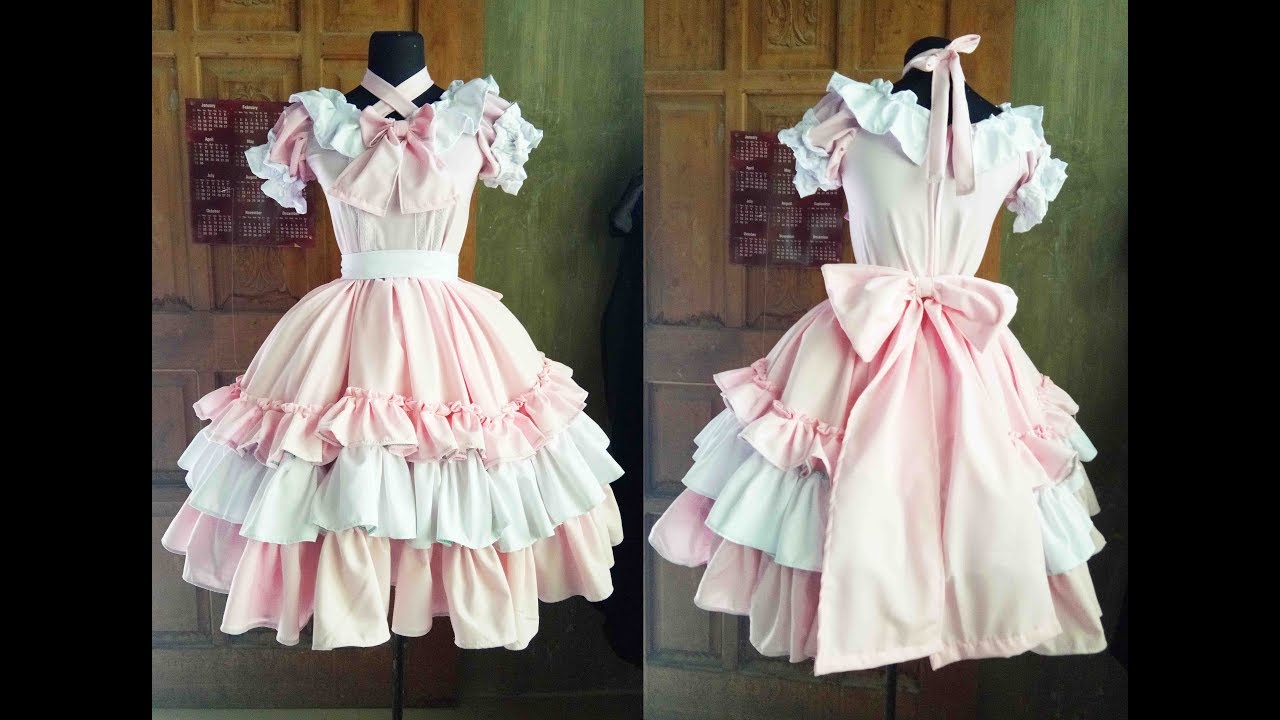
Creating the Bodice Pattern
The bodice is the most intricate part of the Lolita dress, requiring precision in pattern-making to ensure a perfect fit and detailed design. Start by taking accurate measurements of the bust, waist, and hips, as well as the distance between the bust and waist. These measurements will form the basis for your bodice pattern, ensuring it fits snugly and comfortably.
Begin drafting the bodice pattern on paper, creating separate pieces for the front and back. The front piece typically includes darts or princess seams to provide shape and contour, while the back piece may feature lacing or a zipper. Consider including a high neckline and puffed sleeves for a classic Lolita look, or opt for a sweetheart neckline and cap sleeves for a more delicate touch.
Transfer your pattern onto muslin or a similar test fabric to create a mock-up. This initial version allows you to test the fit and make any necessary adjustments before cutting into your final fabric. Pay close attention to the fit at the bust and waist, as any discrepancy can impact the overall look and comfort of the dress.
Once satisfied with the fit and design, proceed to cut the bodice pieces from your chosen fabric. Carefully mark and sew any darts, seams, and other details, ensuring precision at every step. The bodice often includes decorative elements like lace trim or buttons, which can be added after the main construction is complete.
Designing the Skirt Pattern
The skirt is often the most voluminous part of the Lolita dress, requiring precise measurement and ample fabric. Start by determining the desired length and circumference of the skirt, considering how it will fall over the petticoat. Lolita skirts are typically full and gathered or pleated at the waist to create a bell-shaped silhouette.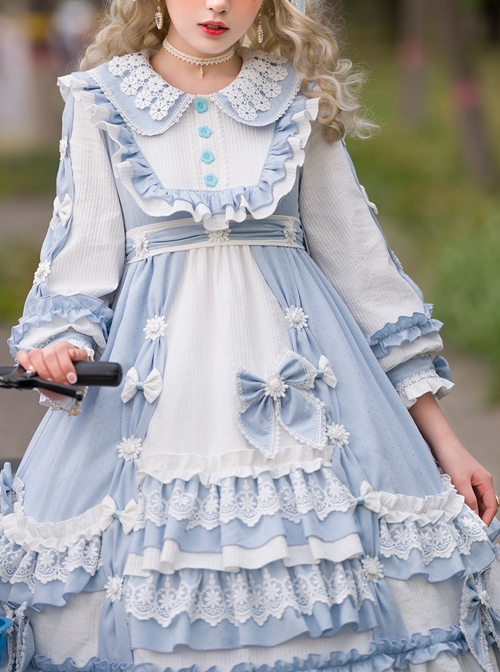
Draft the skirt pattern, ensuring it has enough fabric to achieve the desired volume. For a gathered skirt, calculate the amount of fabric needed by multiplying the waist measurement by three or four, depending on the desired fullness. For a pleated skirt, determine the pleat size and spacing, ensuring it adds up to the correct waist measurement.
Once the pattern is ready, cut the skirt pieces from your chosen fabric. If your design includes any trims, borders, or embellishments, attach them before assembling the skirt. Sew the side seams, leaving an opening at the back or side for a zipper or other closure. Gather or pleat the top edge of the skirt and attach it to the bodice, ensuring an even distribution and smooth finish.
Finally, hem the skirt to the desired length, taking care to create a clean and even edge. A wide hem allowance can add weight and structure, helping the skirt maintain its shape. Adding a lace trim or decorative border can further enhance the skirt’s elegance and overall appearance.
Assembling and Finishing the Dress
Sewing the Bodice and Skirt Together
With both the bodice and skirt pieces prepared, it’s time to assemble the dress. Begin by carefully pinning the gathered or pleated edge of the skirt to the bottom edge of the bodice. Ensure that the seams align and that the gathers or pleats are distributed evenly around the waistline. This step requires precision to achieve a balanced and polished look.
Sew the bodice and skirt together using a strong, even stitch. Reinforce the seam by sewing a second line of stitching or by using an overlock stitch. This reinforcement ensures the seam’s durability, especially given the weight and volume of the skirt. After joining the bodice and skirt, finish any raw edges with a serger or zigzag stitch to prevent fraying.
Next, attach any closure elements like zippers, buttons, or lacing. These closures not only provide practical functionality but also contribute to the dress’s overall aesthetic. Ensure that the closure is secure and aligns correctly with the seams and design elements of the dress.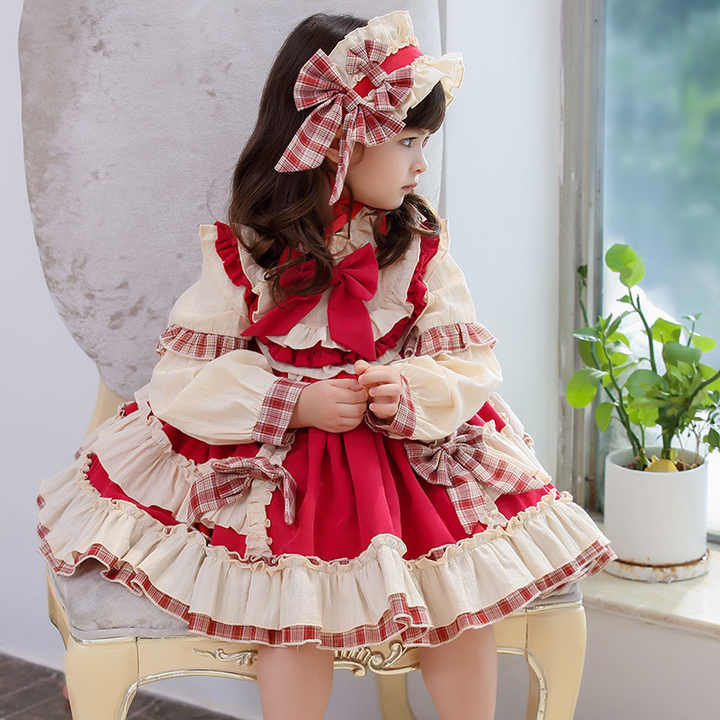
Adding Final Details and Embellishments
The final step in creating your Lolita dress is adding the details and embellishments that give it a unique, personalized touch. This stage allows for further creativity and customization. Elements like lace trim, bows, ribbons, and buttons can be strategically placed to enhance the dress’s overall design.
Consider adding decorative elements to the neckline, sleeves, and waist. A lace collar or bow at the neckline can add a refined touch, while lace-edged sleeves can enhance the dress’s vintage charm. Waist ties or sashes can provide an adjustable fit and add a decorative element to the back of the dress.
If your dress includes a petticoat, ensure it is correctly fitted and adjusted to provide the desired volume and shape. The petticoat should enhance the skirt’s fullness without adding excessive weight or bulk. Consider adding a detachable overskirt or apron for additional layers and complexity.
Quality Check and Final Adjustments
Before declaring your Lolita dress complete, conduct a thorough quality check. Inspect all seams, hems, and closures to ensure they are secure and well-finished. Try on the dress or fit it to a dress form to assess the overall fit and appearance. Make any necessary adjustments to ensure comfort and aesthetic appeal.
Pay attention to the garment’s overall integrity, including the evenness of gathers or pleats and the alignment of design elements. Check that the dress moves and flows as desired, maintaining the iconic Lolita silhouette. A final pressing or steaming can enhance the fabric’s appearance, providing a polished and professional finish.
Conclusion
Creating a Lolita dress is a rewarding and creative process that combines historical inspiration with modern craftsmanship. From gathering inspiration and materials to drafting patterns and assembling the dress, each step requires attention to detail and a passion for fashion. Whether you are a seasoned seamstress or a newbie to sewing, crafting a Lolita dress offers a unique opportunity to express individuality and artistry.
By following this comprehensive guide, you can confidently embark on your journey to create a stunning Lolita dress. Each piece you make will be a testament to your skills and creativity, allowing you to fully embrace and showcase the enchanting world of Lolita fashion.

